Self-Myofascial Release
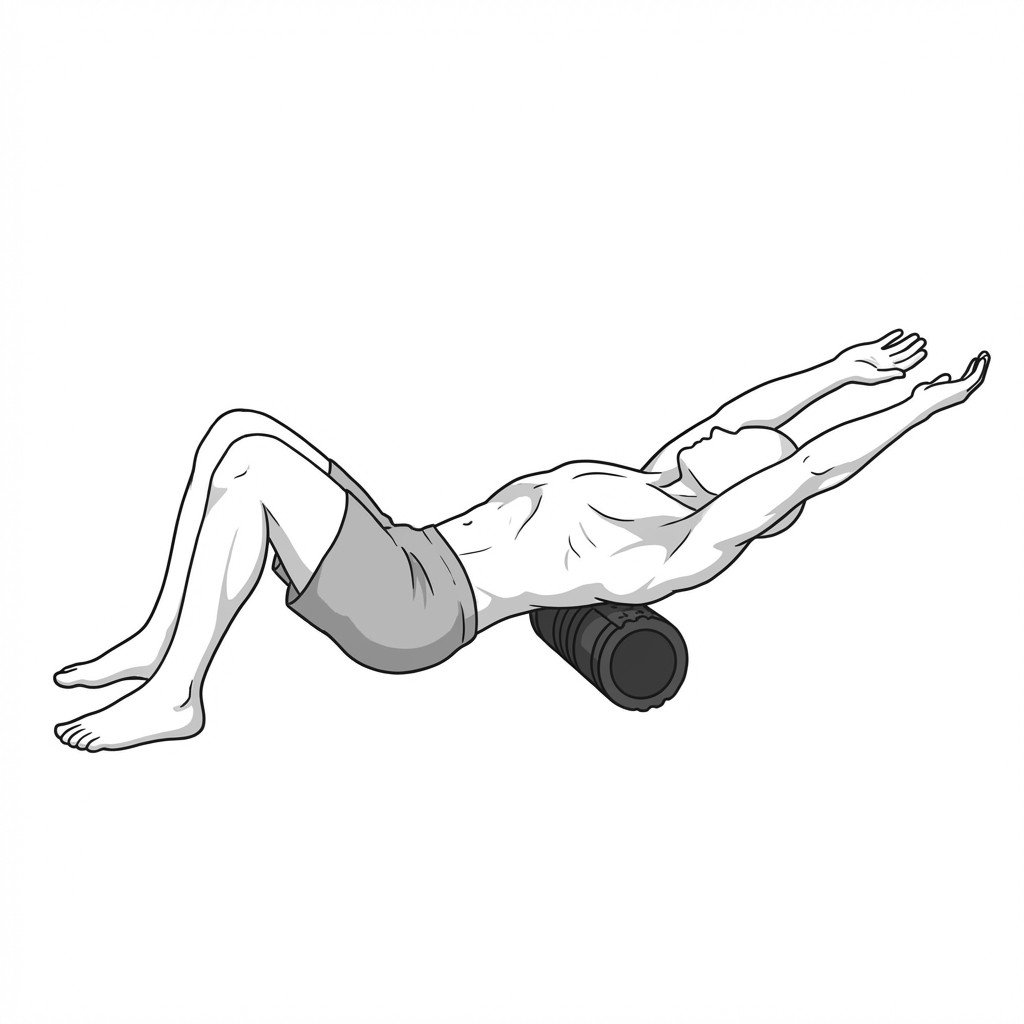
Step-by-Step Instructions
- Choose the right tool for the target area: a foam roller for large muscle groups (quads, hamstrings, thoracic spine, lats); a ball for more focal trigger-point work (glutes, pectorals, plantar fascia).
- Position the tool under or against the target muscle — never directly on a bony prominence, joint surface, or the spine itself.
- Apply moderate pressure: enough to feel a clear effect (roughly 4–7 on a 10-point scale) but not so much that the whole body tenses up or breathing becomes shallow.
- Roll slowly along the length of the muscle, pausing for 60–90 seconds whenever you find a meaningful tender area rather than moving continuously past it.
- While holding pressure on a tender spot, breathe slowly with a long exhale — this activates the parasympathetic nervous system and allows the tissue to settle rather than guard.
- After the tissue softens or discomfort drops significantly (usually within 60–90 seconds), move on to the next area. Keep total session time to 10–15 minutes.
- Follow self-release with gentle stretching or movement in the treated area to reinforce the newly available range of motion.
Why It Works
Sustained pressure changes how the nervous system regulates muscle tension and pain — the primary mechanism of SMR is neurological, not mechanical crushing of tissue.
SMR performed before stretching or exercise often makes both more tolerable and productive, because releasing local guarding allows more even distribution of load through the muscle.
Clinical Precautions
Avoid direct SMR over acute injury, open wounds, skin infection, or fresh surgical sites. If you have a clotting disorder, severe osteoporosis, or are pregnant, consult a clinician before using pressure-based self-release tools.